
-
Artistic swimming is, essentially, artistic swimming that includes elements of dance and gymnastics. Athletes learn a specific series of body positions and sculling called “figures”. These figures are combined with swimming strokes and choreographed to music to create routines for performance. Under the Alberta competitive rules, routines can be performed as solos, duets, combos or teams (consisting of 4 to 10 athletes).
-
FINA officially changed the name of the sport from Synchronized Swimming to Artistic Swimming after the Rio Olympics in 2016.
This was to push the similarities between the gymnastics events and synchro events to light, and encourage more people to watch, and join, synchro.
While the sport is technically called Artistic Swimming now, you will still hear it referred to by its shorter name, synchro.
-
One of the interesting aspects of synchronized swimming is competition appearance. To add artistic value to our performances, synchro swimmers put up their hair in buns with decorated headpieces. In order to make the hairstyle water-resistant and sleek, knox gelatin is used, along with a plethora of pins and hair ties.
In short, a tight ponytail must be made at the back of their head which is then twisted into the bun. The bun is secured with bobby pins and strays are kept in check with a hairnet. The gel is prepared by dissolving KNOX gelatin in hot water and brushed into the hair. Headpieces, which can be elaborate or simple bun covers (piece of coloured fabric tightly attached to cover the bun) are then pinned in.
More in depth instructions are included below.
How to do Artistic Swimming Hair
On Damp hair use a comb too secure hair into a smooth high ponytail with hair elastics. The ponytail should be at the crown of the head approximately in line with the ears.
Twist the ponytail and wrap hair around the ponytail base. Tuck ends of the hair under the bun. Use hair pins to secure the bun. If you have thick hair you may want to braid hair and secure ends with tiny elastics before twisting into a bun.
For shorter and thinner hair add a donut around the ponytail like an elastic band, smooth hair around it evenly and tuck the ends and extra hair underneath with hair pins.
Wrap the net around the bun secure the hairnet with hair pins.
Use bobby pins to secure shorter hair and baby hairs behind the ears, and under the bun right above the neck. If you have bangs, short hair or lots of baby hairs consider using hair clips or a circle comb.
Making the gel
6 packets of Knox powder will cover one average head. If your hair is thicker you may need more and if your hair is thin you may need less.
empty knox into a container
boil water on stove, in kettle or microwave.
Add water to knox slowly until it has a jam like thickness. Stirring slow is key to avoid unwanted bubbles and foam which makes get dry white.
Put towel around the neck to protect from dripping and generously apply gel starting from the hairline towards the bun. You can use a brush but hand have more control. Cover all hair including the bun. Gel will solidify as it cools.
Add a second coat and pay special attention to the hair above the neck and above ears. If you have solidified gel left from the first coat you can add a small amount of hot water to reuse it for the second coat remember to stir it slowly.
While gel is still tacky, pin on the headpiece or bun cover with bobby pins.
Supplies
-

Knox Gelatin
-

Hair Elastic
-

Tiny Elastics
-
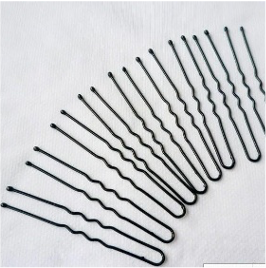
Hair Pin
-
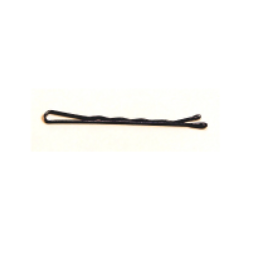
Bobby pin
-
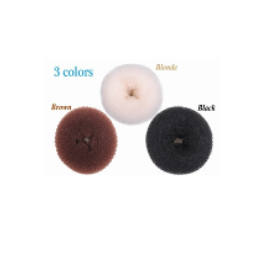
Bun Form/ Donut
-

Circle comb
-

Hair clip
-

Hair net
-

Brush
-

Bun cover
-

Head peice